Requirements
- Microsoft Azure Account
- Resource Group
Steps
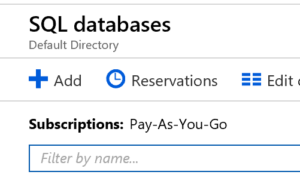
Once logged into the Azure Portal click on the Option for SQL Databases from the menu on the left side.

You should then see an Add button as shown below, Click on Add.

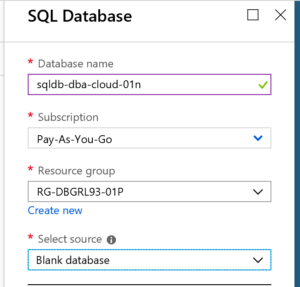
The Create new Database Blade will then appear.
You will need to fill in the name of the database you want to create. When ready select the subscription. If you have not already created a Resource Group, you can click on the Create New link.
A Resource Group in Azure is basically a logical container to group the services you are creating. This grouping can then be setup for different business functions or applications and permissions can be set accordingly.

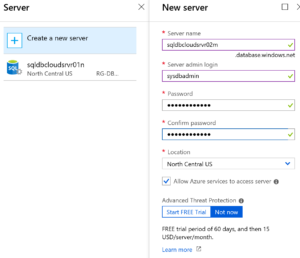
Click on the Configure Server. If no server is found, the create new server blade will appear. It will require you to set a server name.
Even though you are creating a single database, Azure creates a virtual SQL Server in the background. You are able to create multiple databases on this server. However, it does not function as an instance of SQL Server would if you had an instance on a VM or in your data center.
Enter a name for the server admin login and a password. Choose a location nearest you or where the database will be used.
Checking the box to Allow Azure services to access the server basically opens the firewall settings to let all IP addresses get to the database. More on the Firewall settings in another article.

Click on Select at the bottom of the blade. Another blade will appear where you can select the pricing tier and the collation. The default is the Standard, for this demonstration, I am selecting the Basic tier.
When ready you can click on Create. Clicking on Automation Options will create an ARM Template to save. More on ARM Templates in future articles.
Once you click on Create, the deployment process will begin. Going to the Resource Group you created, you can also see the status of the deployment
